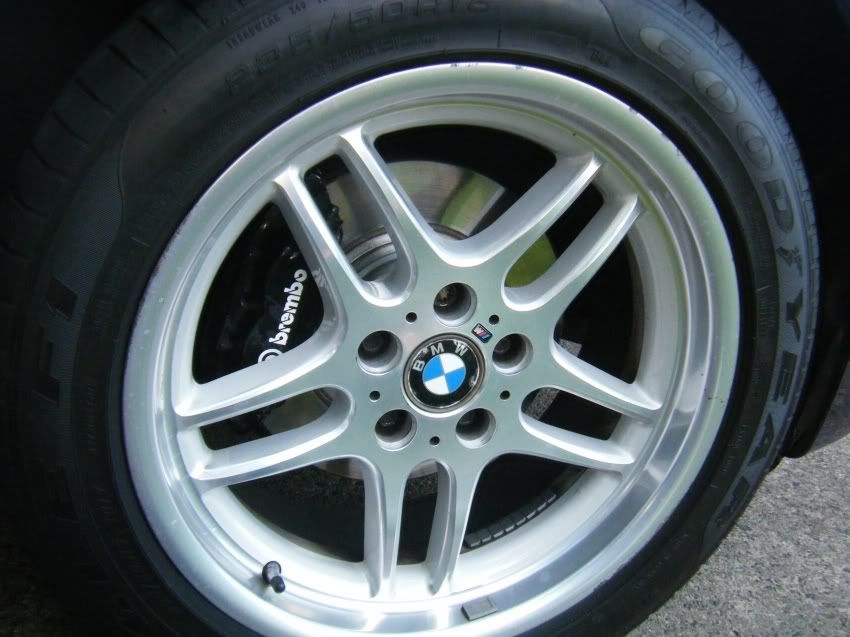

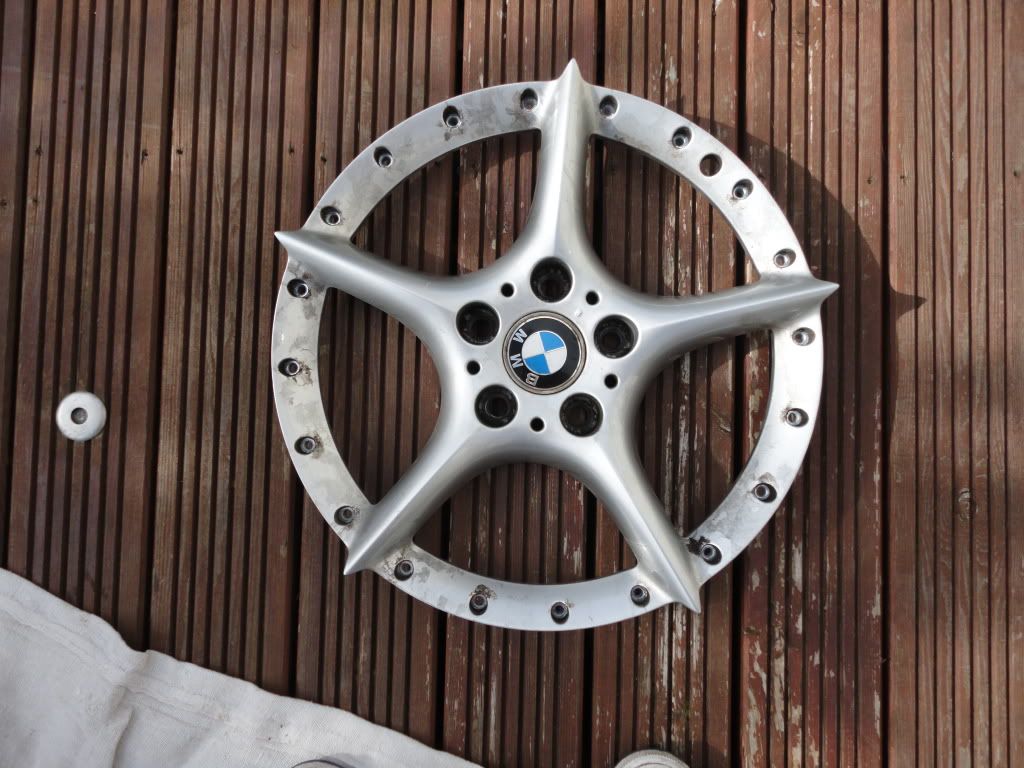
I have been looking to repair (or replace) my BBS 108 2-piece rims on my Z4 coupe as they were badly corroded and kerbed. But after visiting a few Alloy wheel shops, they all recommended that I keep my rims (as they would be better quality than most replica wheels) and to get them refurbished instead. What worried me though is that non of the shops I contacted said that they would 'split' my rims and that they would simply spray over the bolts (which I didn’t want). I am guessing that the amount of time involved in splitting the rims makes it uneconomical for Alloy wheel stores & hence the reason they wouldn’t do it.
I therefore decided to have a crack at refurbishing my 108's split rims myself. All my centres are in pretty good condition its just the outside lips that has started to corrode quite badly. Its also more convenient for me as I can just do them one at a time starting with the worst one. I am sure that there are better ways & tools for doing this job but maybe this will help anyone that was thinking of trying to repair their own wheels. If anyone has any inputs for me, feel free to send them on as I have only done one and I have 3 more to do!!
Materials/Tools used:
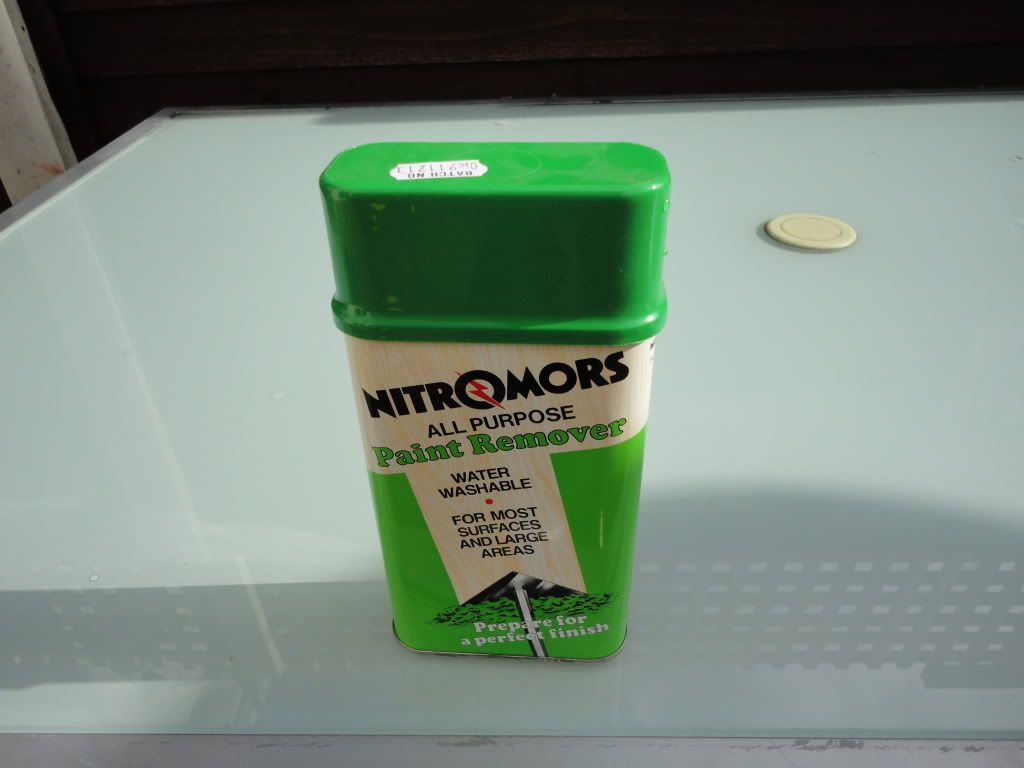
Nitromors (Metal paint remover)
![Image]()
Halfords Clear lacquer
Halfords Wet sanding pack
Machine Mart wire rotary (for drill)
Star set for 1/2" socket set (purchased from McQuillans Tool shop)
Socket set / Torque Wrench (purchased from McQuillans Tool shop)
Polishing kit (purchased from McQuillans Tool shop)
Steps Taken:
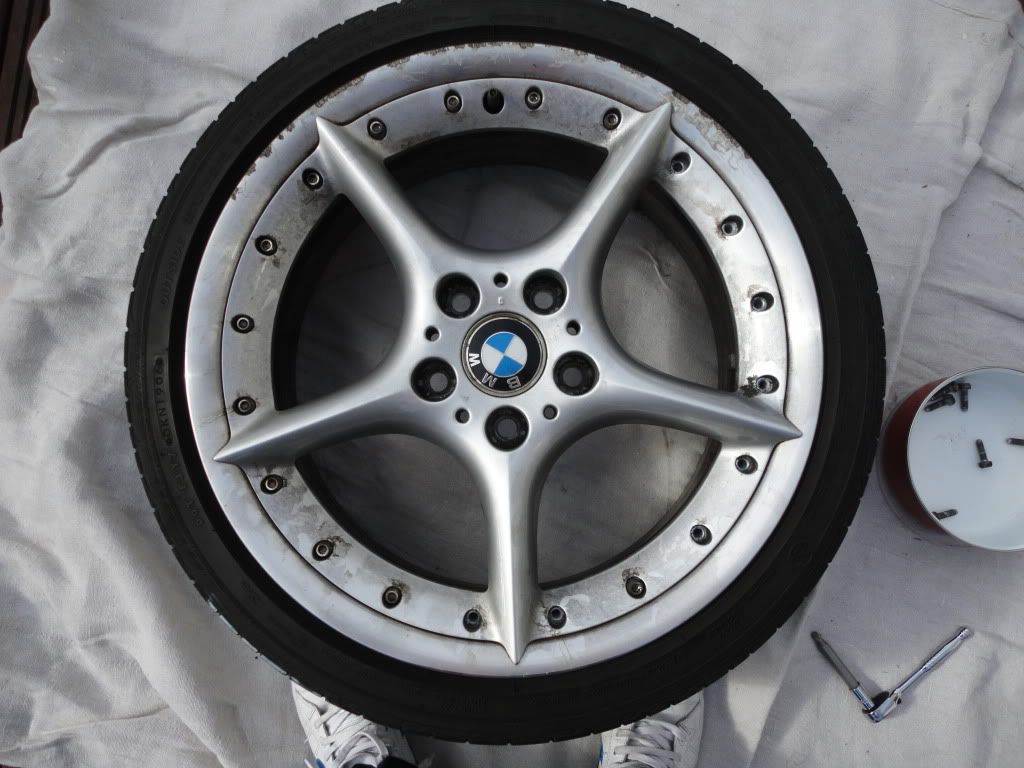
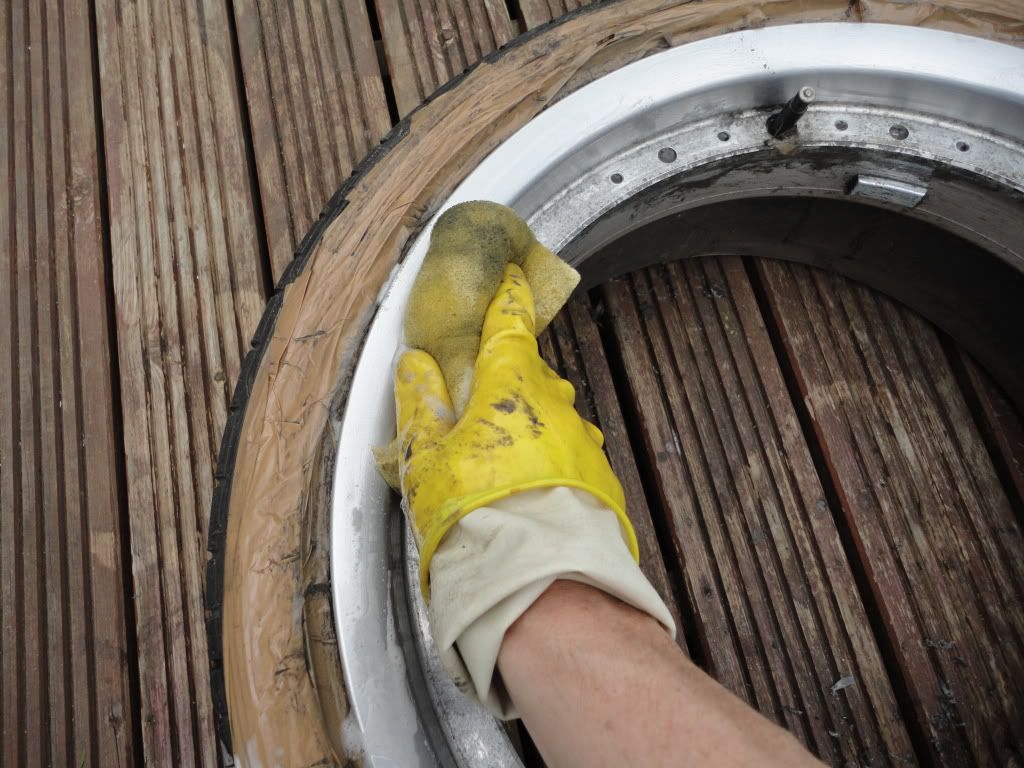
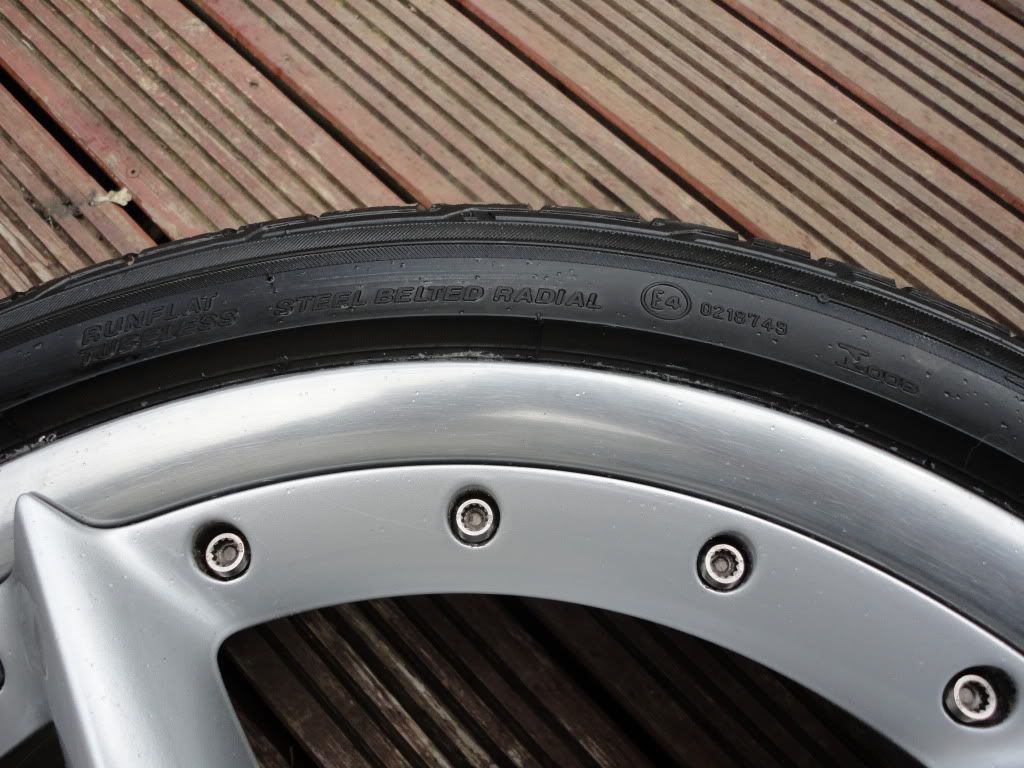
- Take the wheel off the car and give a quick wash.
![Image]()
![Image]()
![Image]()
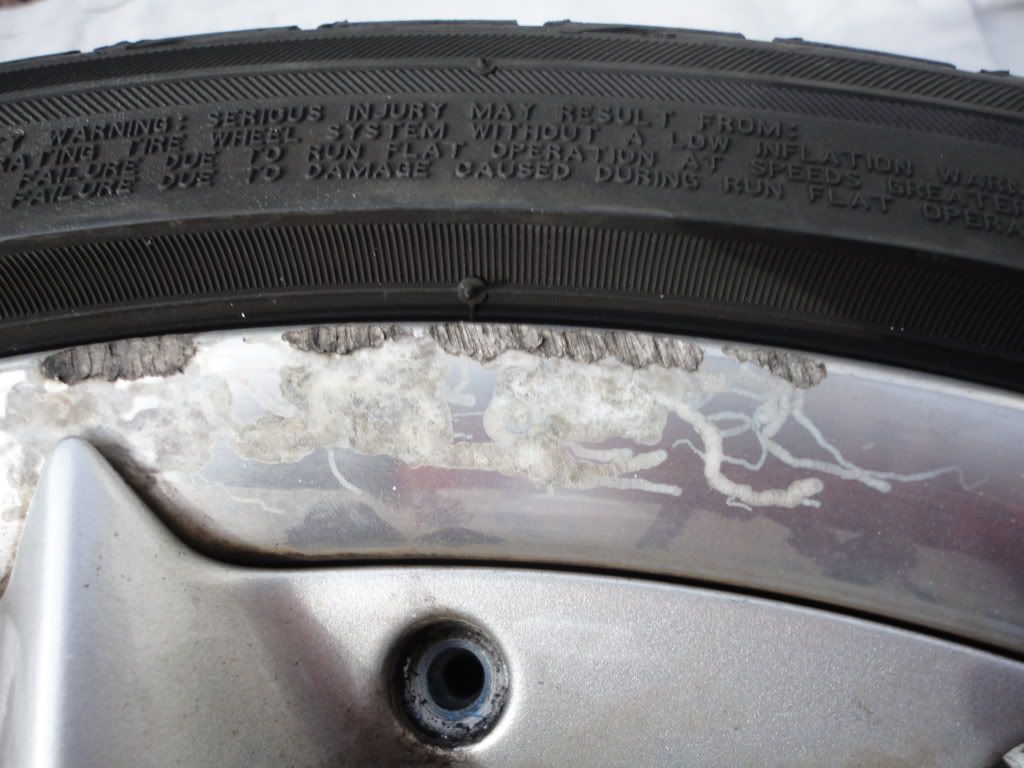
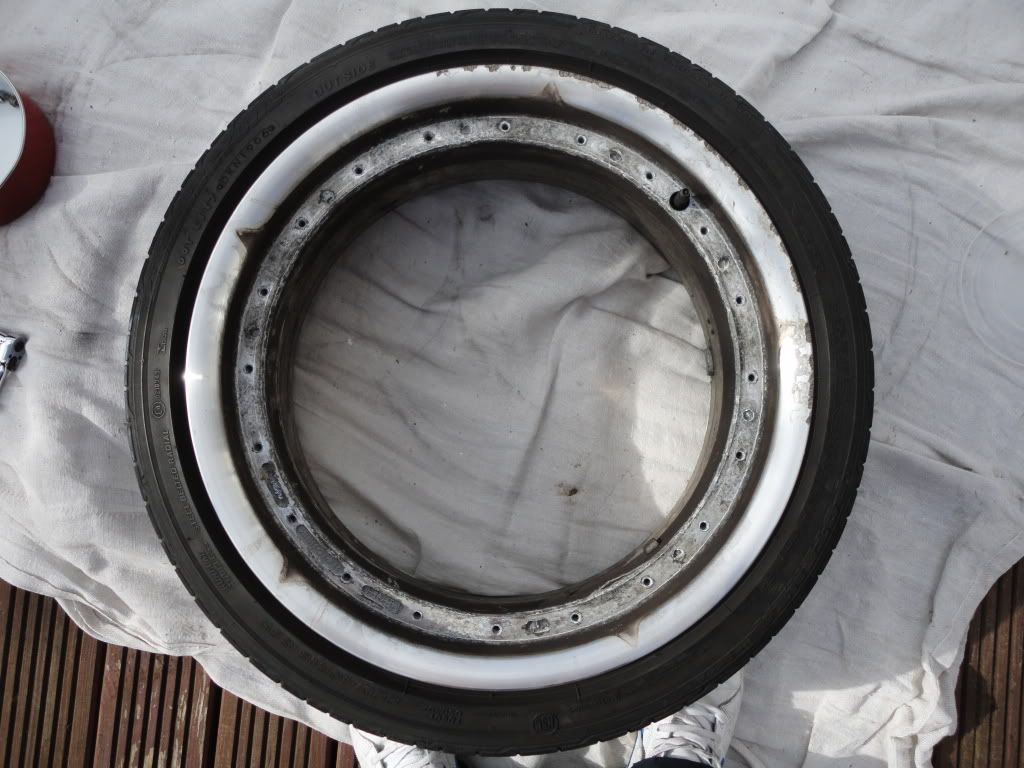
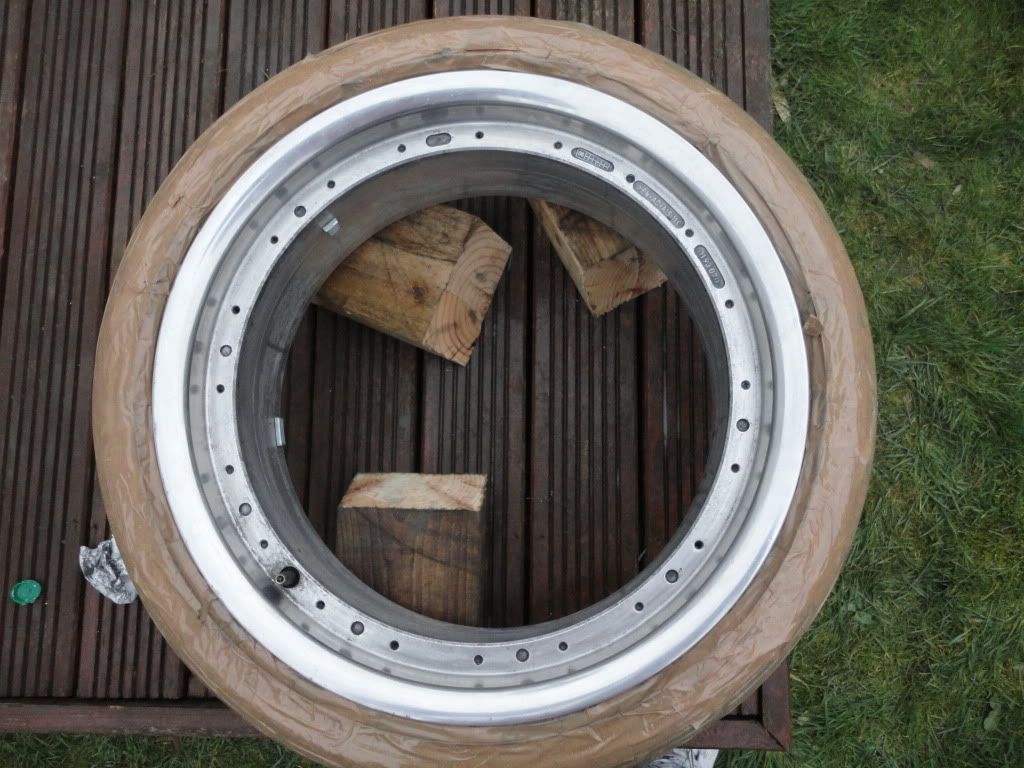
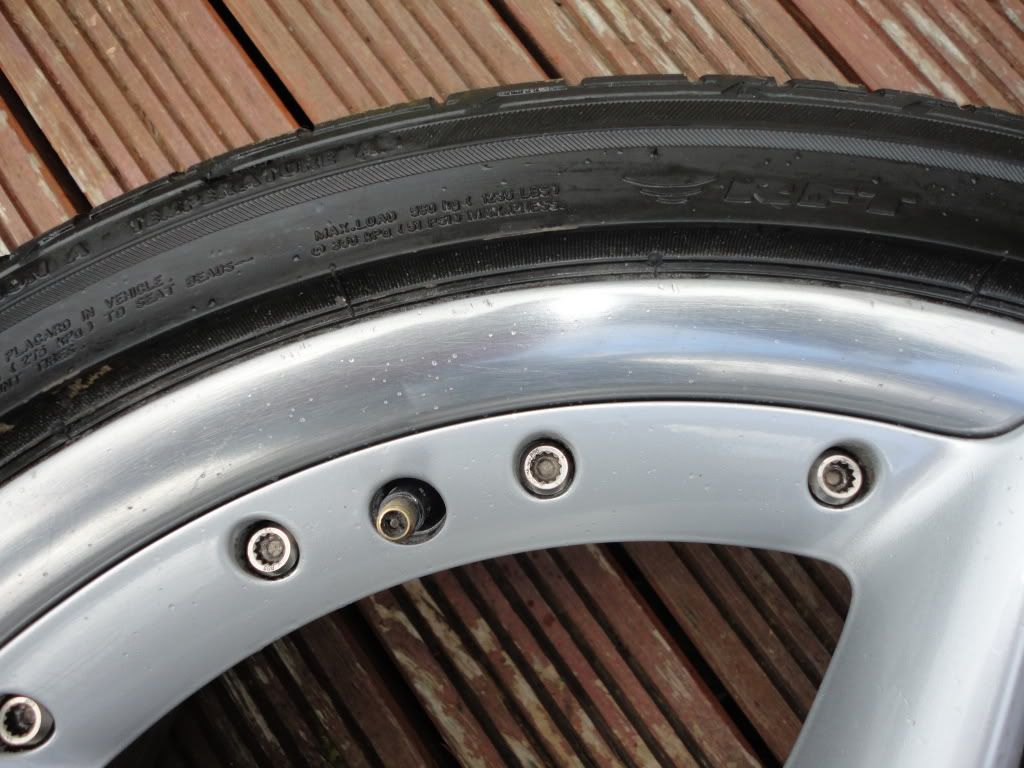
- Split the rim. (easier than I thought it would be). I just 'broke' the bolts one turn and then power drilled them out at a low speed.
![Image]()
![Image]()
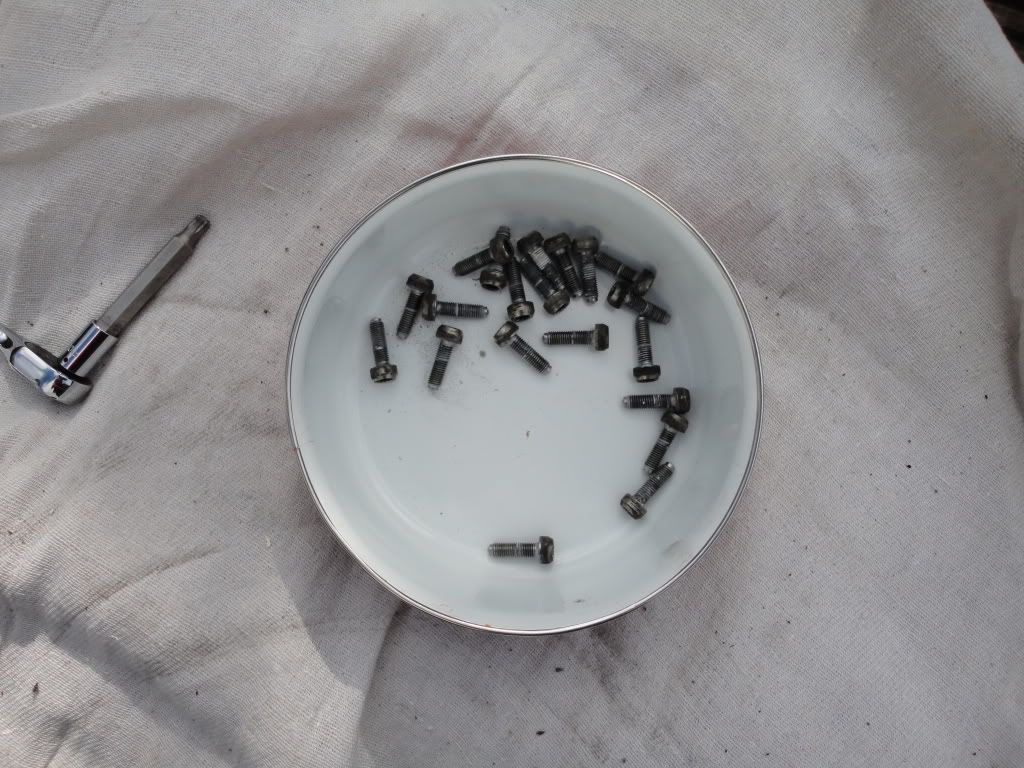
- Get a small dish to hold all the bolts in as you don’t want to lose any!
![Image]()
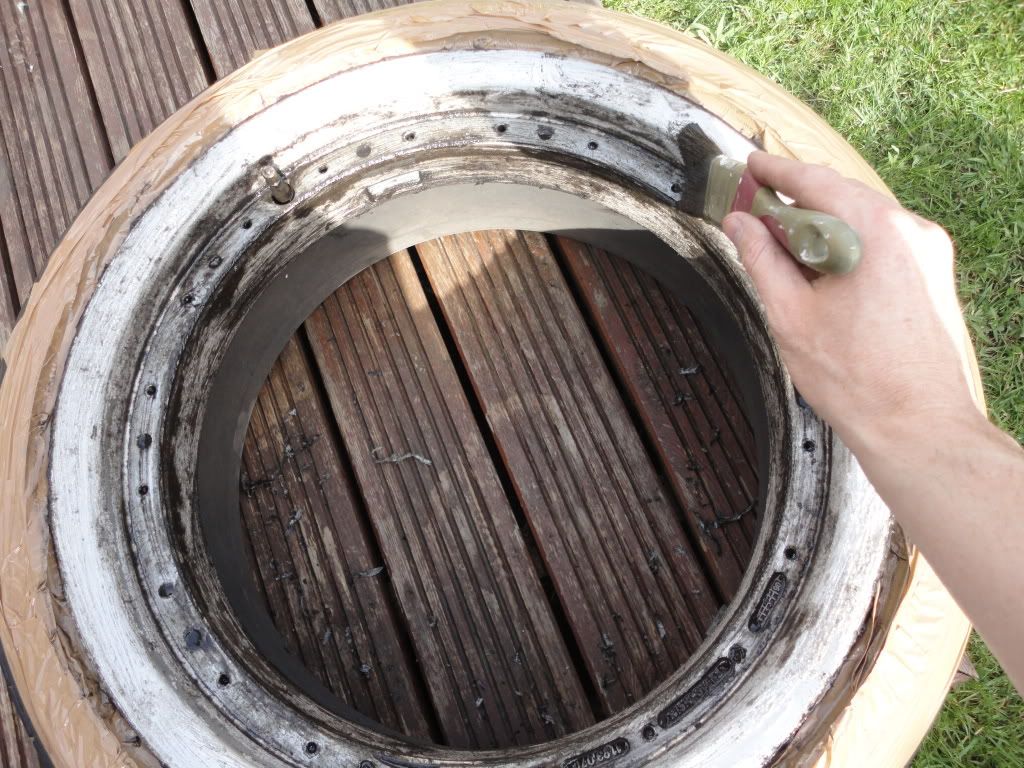
- Mask the tyre with tape to prevent Nitromors from making contact with the tyre.
- Painted the nitromors on with brush and left for 20 minutes.
![Image]()
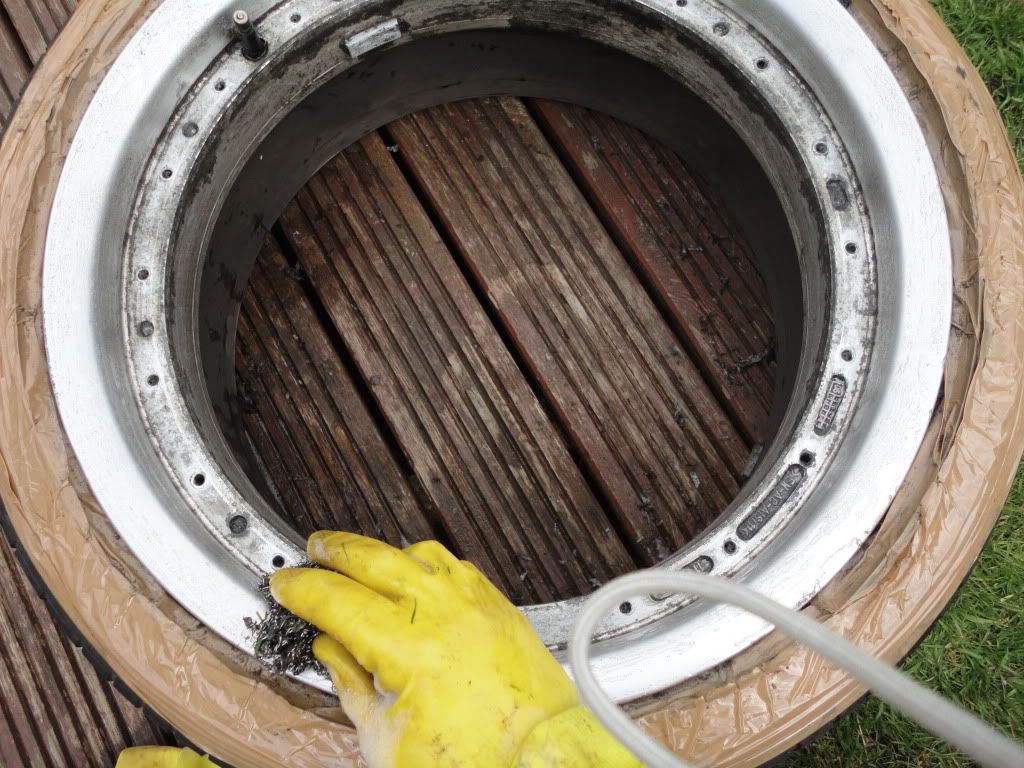
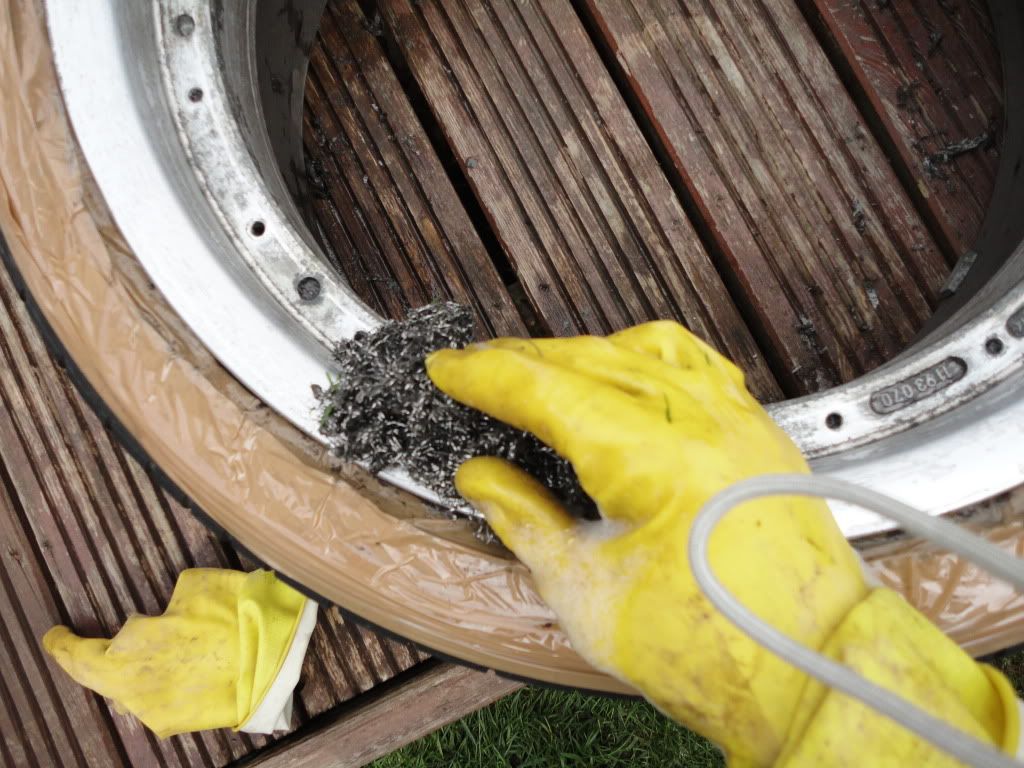
- Washed and scraped the nitromors off using a scouring pad
![Image]()
![Image]()
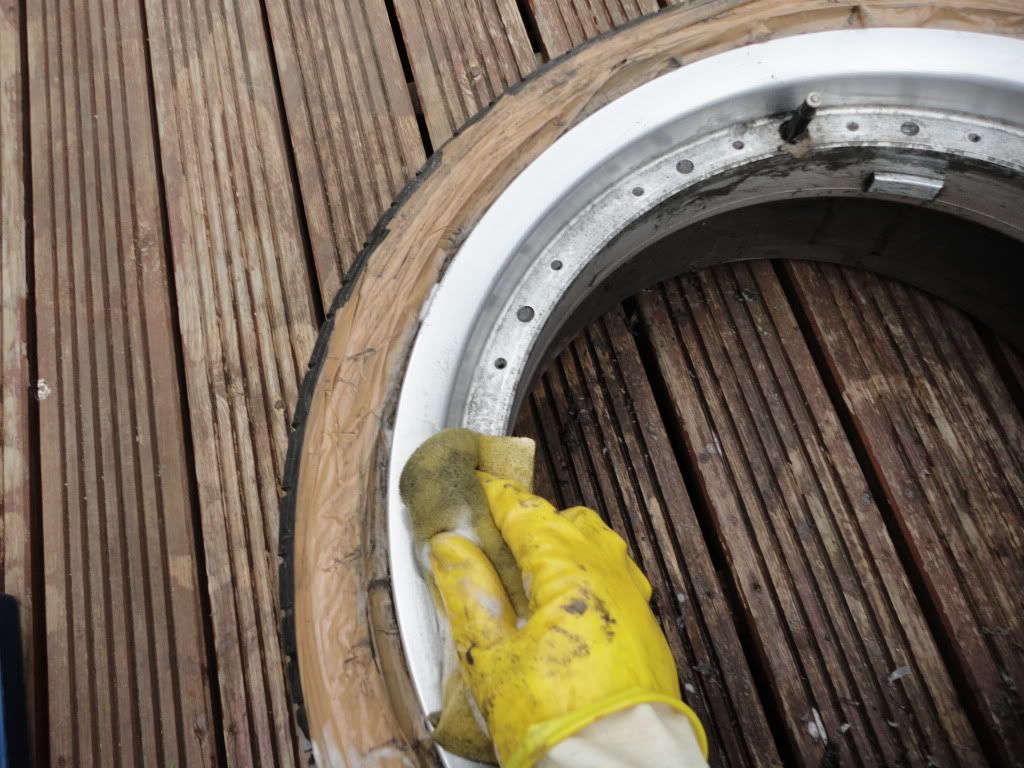
and then washed off well using a bucket of soapy water.
![Image]()
![Image]()
- Repeated the above steps twice over (3 times in total).
- Started sanding off corrosion with 400 grit wet sand paper. Used the wire rotary attachment to attack the worst bits.
- Wet sanded entire rim working up from 400 grit paper through to 2500 grit. You can also use this time to smooth out any small kerbing)
- Washed entire wheel and dried.
![Image]()
- Polished using the polishing kit I purchased from McQuillans in Blanchardstown.
![Image]()
- Masked up to prepare for clear lacquer.
- Gave 3 coats of clear lacquer.
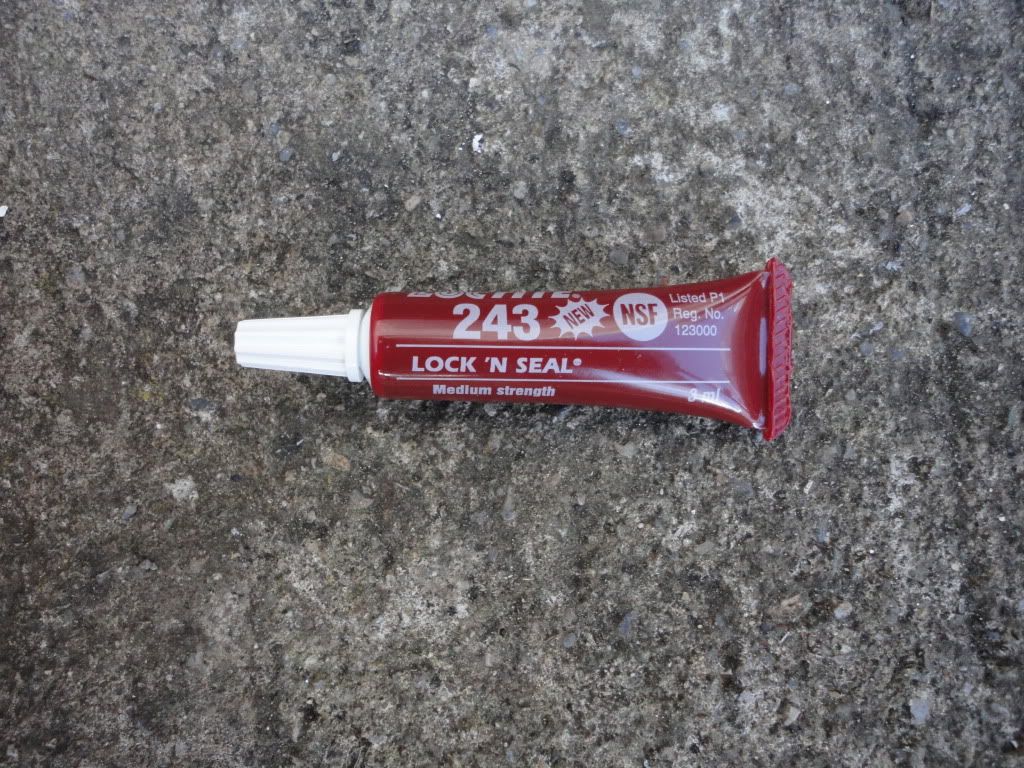
- Reassembled wheel using loctite on the bolts. Torqued the bolts to 28lbs of Torque.
![Image]()
- Stand back and admire the results!
![Image]()
![Image]()
![Image]()
I therefore decided to have a crack at refurbishing my 108's split rims myself. All my centres are in pretty good condition its just the outside lips that has started to corrode quite badly. Its also more convenient for me as I can just do them one at a time starting with the worst one. I am sure that there are better ways & tools for doing this job but maybe this will help anyone that was thinking of trying to repair their own wheels. If anyone has any inputs for me, feel free to send them on as I have only done one and I have 3 more to do!!
Materials/Tools used:
Nitromors (Metal paint remover)
Halfords Clear lacquer
Halfords Wet sanding pack
Machine Mart wire rotary (for drill)
Star set for 1/2" socket set (purchased from McQuillans Tool shop)
Socket set / Torque Wrench (purchased from McQuillans Tool shop)
Polishing kit (purchased from McQuillans Tool shop)
Steps Taken:
- Take the wheel off the car and give a quick wash.
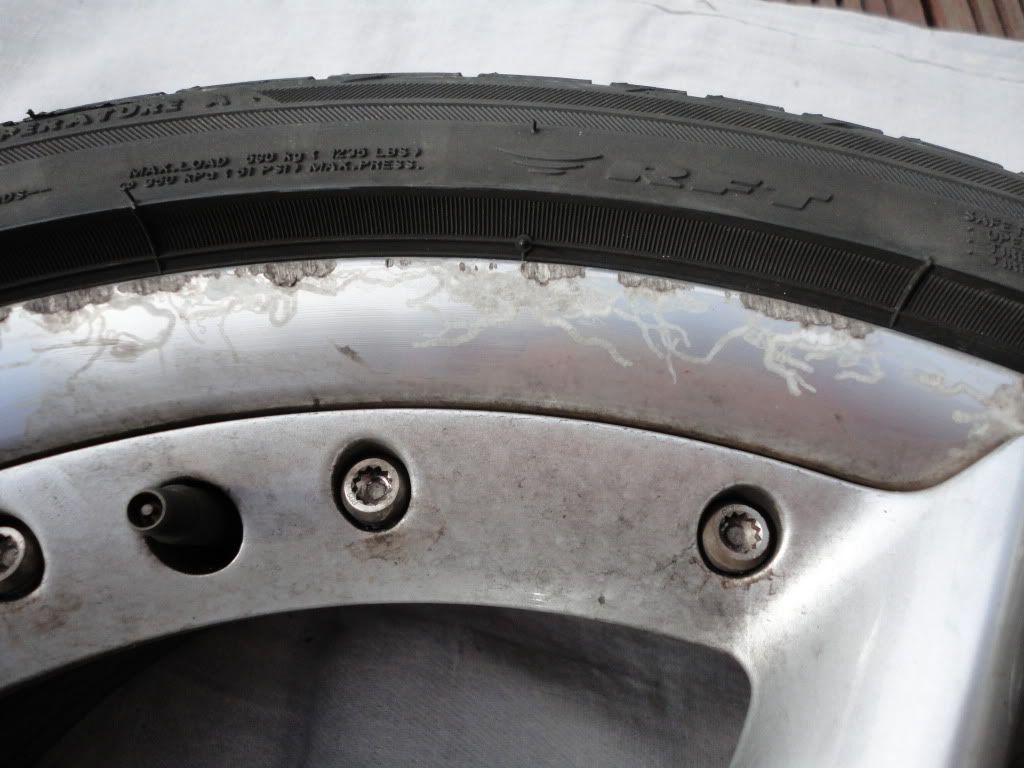
- Split the rim. (easier than I thought it would be). I just 'broke' the bolts one turn and then power drilled them out at a low speed.
- Get a small dish to hold all the bolts in as you don’t want to lose any!
- Mask the tyre with tape to prevent Nitromors from making contact with the tyre.
- Painted the nitromors on with brush and left for 20 minutes.
- Washed and scraped the nitromors off using a scouring pad
and then washed off well using a bucket of soapy water.
- Repeated the above steps twice over (3 times in total).
- Started sanding off corrosion with 400 grit wet sand paper. Used the wire rotary attachment to attack the worst bits.
- Wet sanded entire rim working up from 400 grit paper through to 2500 grit. You can also use this time to smooth out any small kerbing)
- Washed entire wheel and dried.
- Polished using the polishing kit I purchased from McQuillans in Blanchardstown.

- Masked up to prepare for clear lacquer.
- Gave 3 coats of clear lacquer.
- Reassembled wheel using loctite on the bolts. Torqued the bolts to 28lbs of Torque.
- Stand back and admire the results!
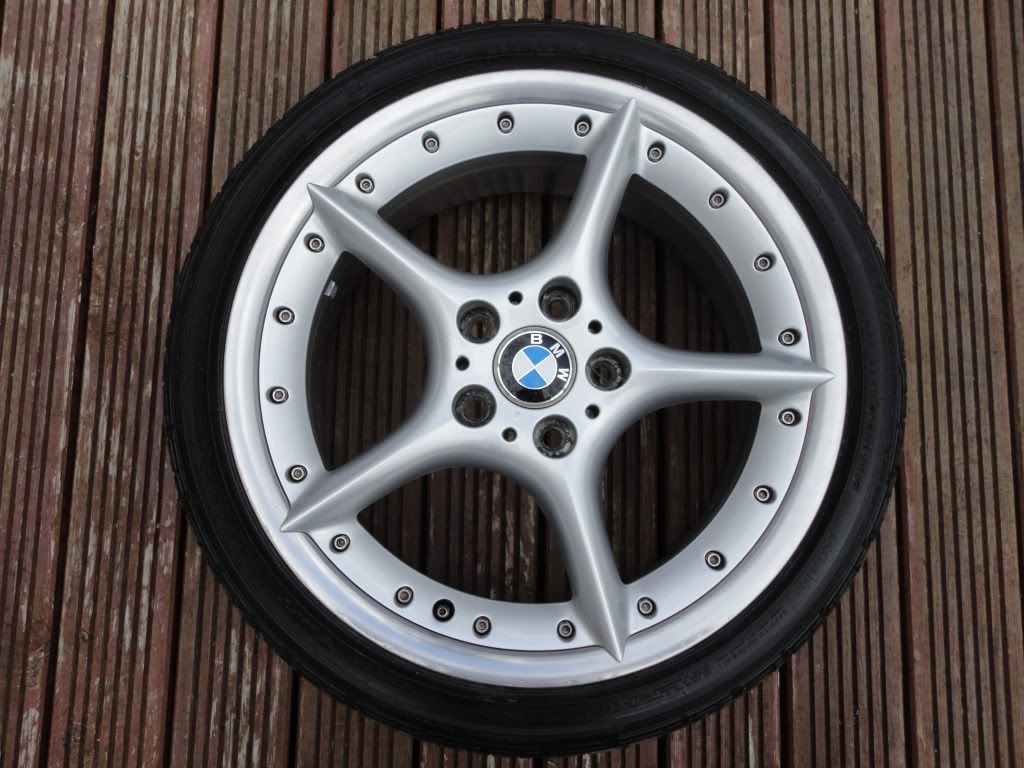
 beats paying someone 3 or 400 euro too